Tutorial: Your First Level
Starting a new level
Whenever you start a new level you'll want at least 4 layers in the following order:
- A tile layer named "Collision", which defines unwalkable space
- A tile layer for things above your player
- An object layer named "objects", where we will place all objects in the level, including your player
- A tile layer for things below your player
From the upper right menu, create each of those layers.

(If the layers aren't in the order you see here, you should be able to reorder them using drag-and-drop)
Now we need to add a "tileset". Tilesets are little squares of environment art that we can use to populate the game environment. Click "New Tileset…" in the lower right menu.

(If you don't see this, go to the View -> Views and Toolbars -> Tilesets)

(Name your tileset and click "Browse..." to pick some art)

(Go to your source code directory and enter "art/tiles")

(Save your tileset under "maps")

(This will now open the tileset in a new tab. DO NOT CLOSE THIS TAB. Just switch back to the map tab)

(You should now see the tiles available in the Tileset window)
You can select a tileset layer like "below", pick the draw tool from the top toolbar:

Now select one or more tiles from the Tileset, and now you can paint those tiles onto the map!
Placing the player
First select the "objects" layer. Now pick a transparent tile from your tileset and click the tool in the top toolbar that looks like a tree/sunset. Now click somewhere on the map where you'd like to place the player.


(Now update the properties on the left menu. Update "Name" & "Type" to be what's listed here. Add a custom property of type string, named "orientation", and set the value to either "up", "down", "left", or "right")
Testing your level
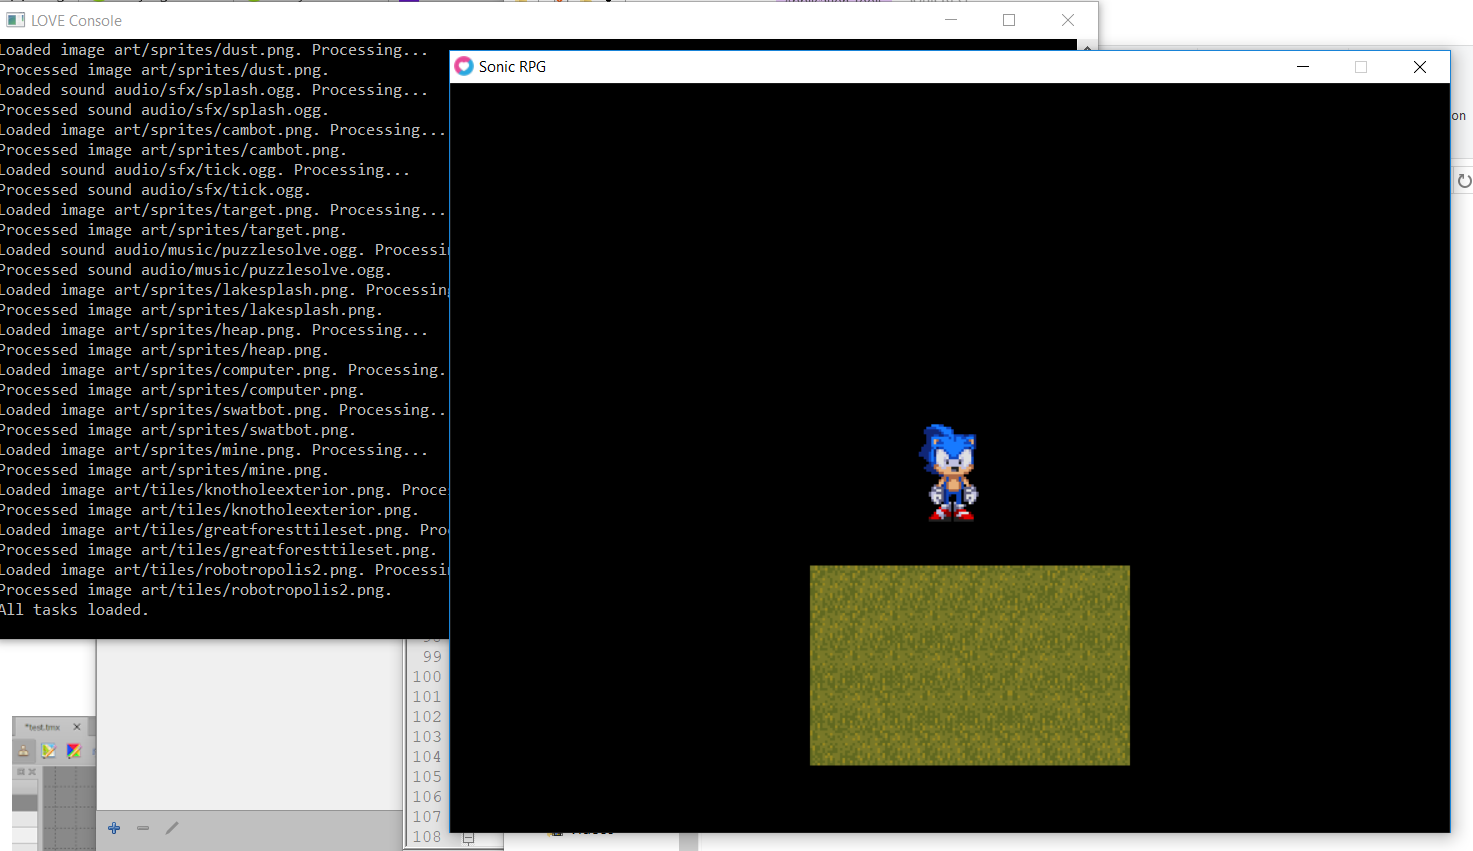
Now you have a super bare bones level!
Save your map under the "maps" folder in the source code directory. Then export your map as a lua file to that same directory.
Save your map under the "maps" folder in the source code directory. Then export your map as a lua file to that same directory.


Finally, we need to update our game assets file. Open your source code directory and navigate to the "maps" folder. Open sonicdemo_manifest.lua and you should see something like this:

Add your map to the top of this list, like so:

Make sure you remove primary = true from all other chunks of map data other than yours

Now save this file and start up the game! After starting a new game and making it past the loading screen, the game should now load into your level rather than the intro level of our SAGE 2020 demo!
There you go! Now you've created your first level. Next up, we will be looking at how to add things to your level.


Comments
Post a Comment